Angels Landing Hike- What to Expect on Zion National Park’s Most Thrilling Trail
Purchases made through links earn us a small commission, at no extra cost to you.
There are many incredible hikes in Zion National Park, but no other invokes nervous excitement like Angels Landing Trail.
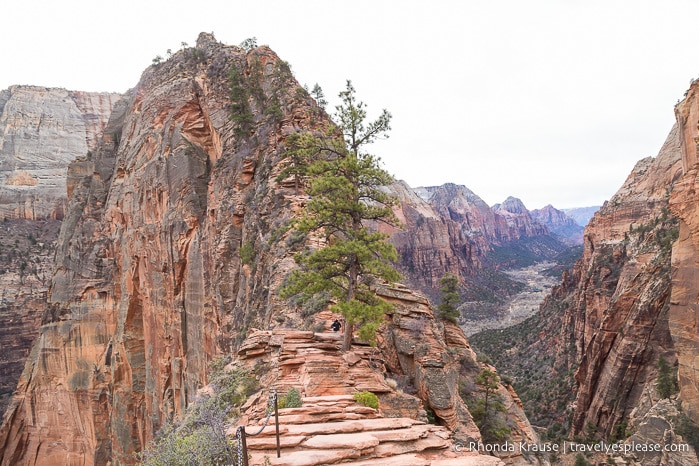
Steep, narrow, with sheer drop offs on either side, this trail is not for the faint of heart or anyone fearful of heights.
The Angels Landing hike is quite literally breathtaking, not only for the dramatic scenery, but because of several perilous points along the trail. It’s a hike that satisfied my need for adventure, stirring up a range of emotions from exhilaration to trepidation.
Before you set out, it’s important to be aware of what to expect on the Angels Landing hike so you can make an informed decision about whether or not to do it. Here’s some information about the Angels Landing Trail followed by our experience on the hike.
About the Angels Landing Trail in Zion National Park
Angels Landing Trail is located near the north end of Zion National Park, starting across from The Grotto picnic area. The out and back hike is rated strenuous and has an elevation gain of 453 m (1,488 ft). Round trip, the Angels Landing hike is 8.7 km (5.4 mi) and takes about 4 hours to complete.
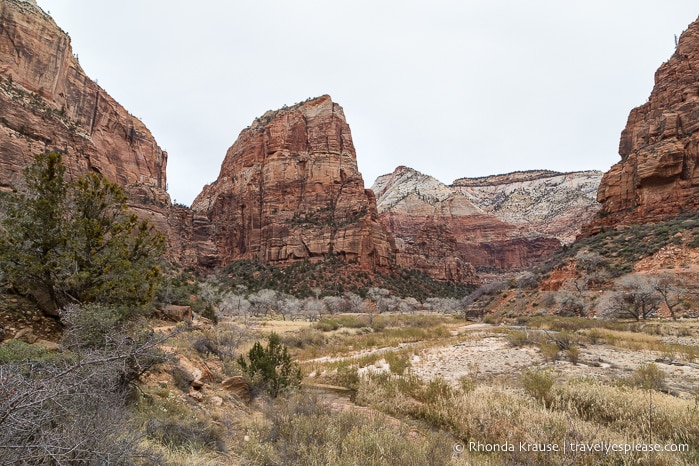
There are two distinct parts to the Angels Landing hike- before and after Scout Lookout.
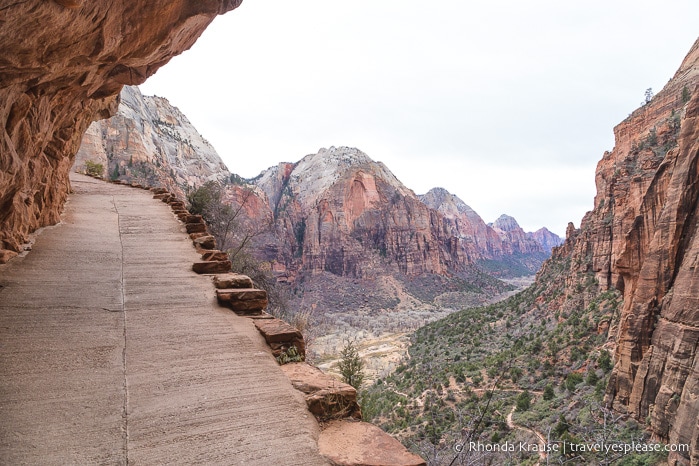
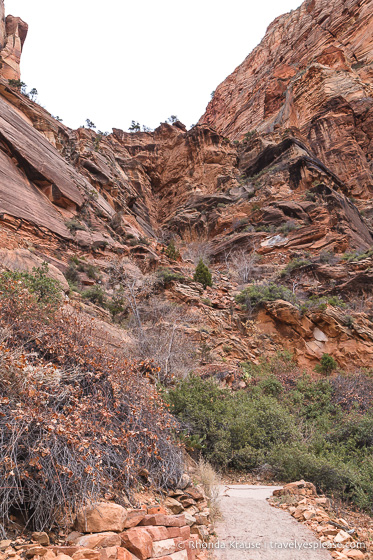
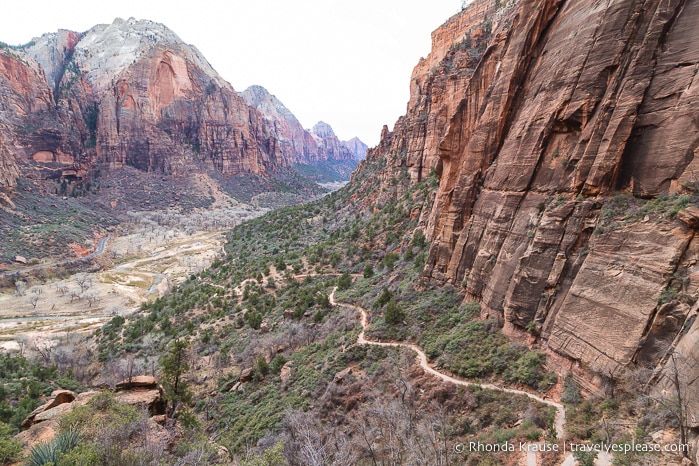
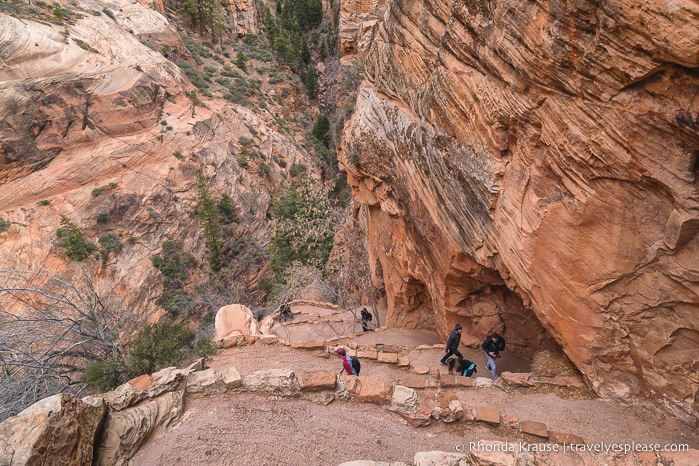
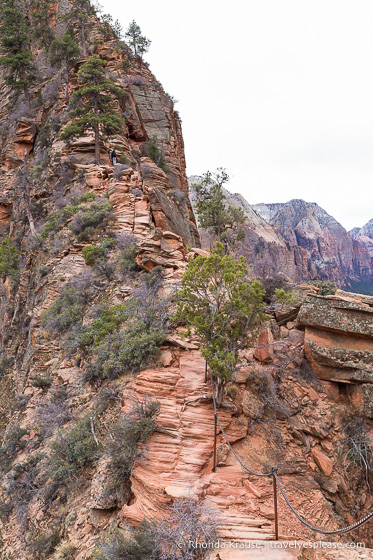
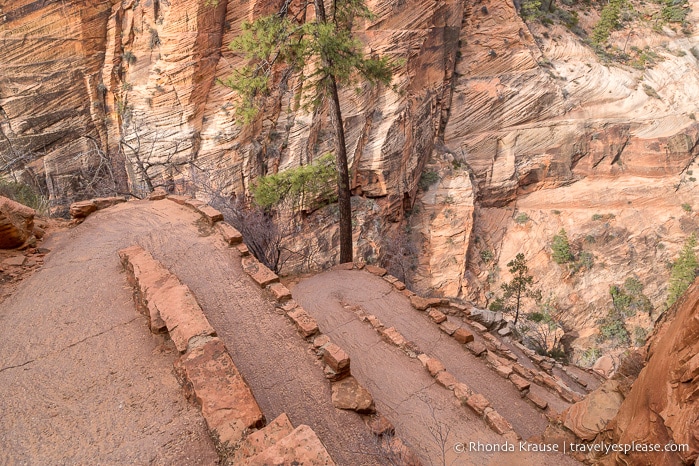
The first section that climbs from the Virgin River to Scout Lookout is partially paved with sets of steep switchbacks ascending up the canyon wall.
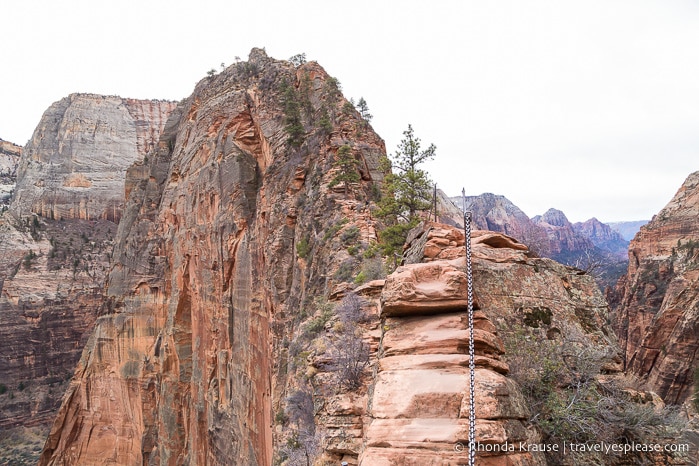
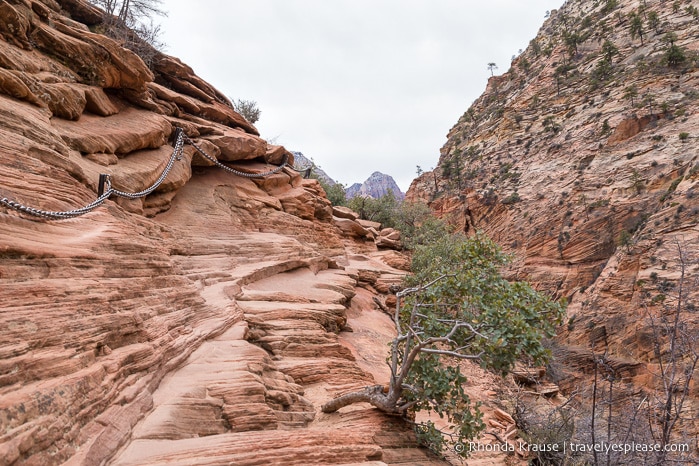
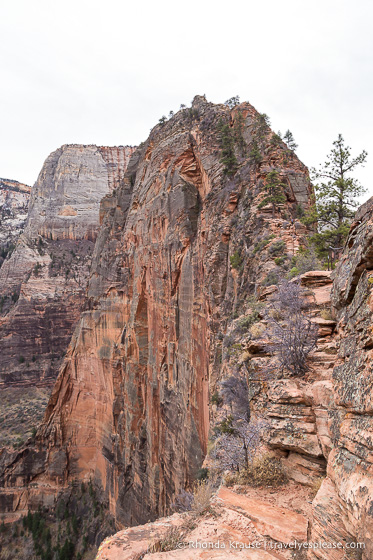
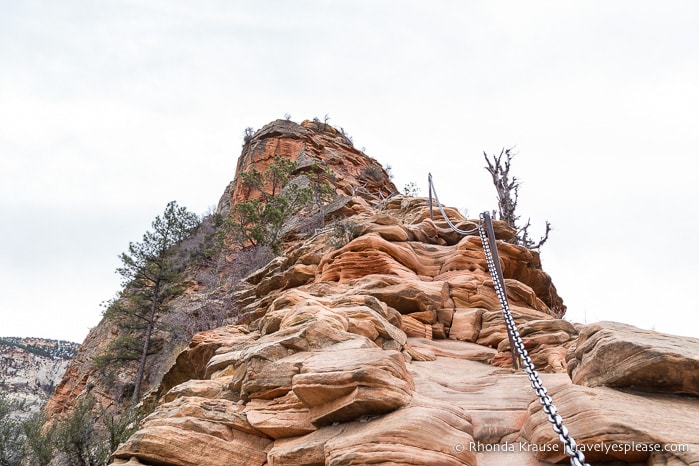
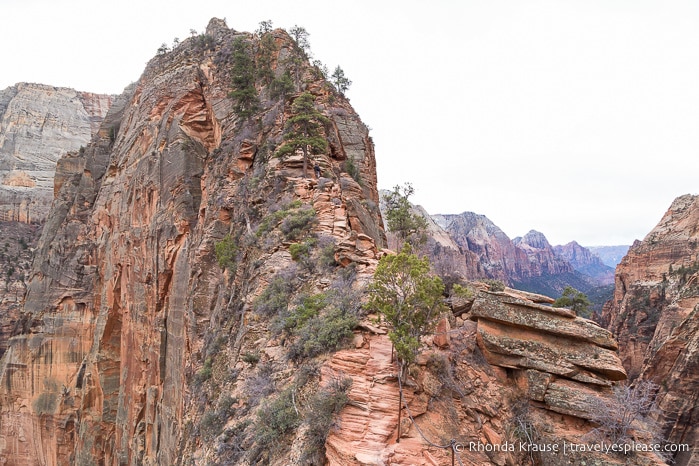
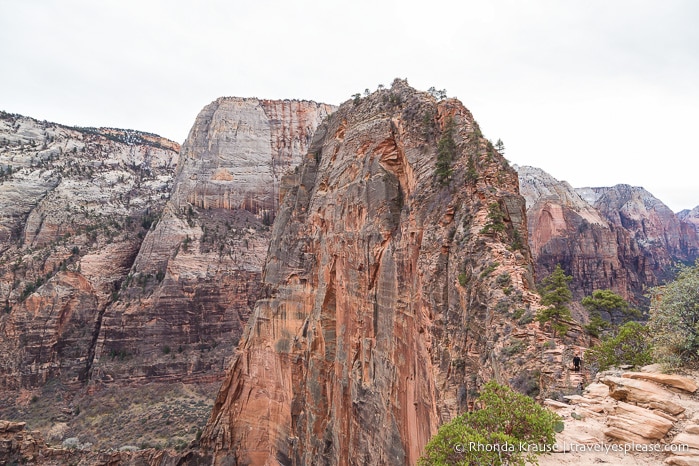
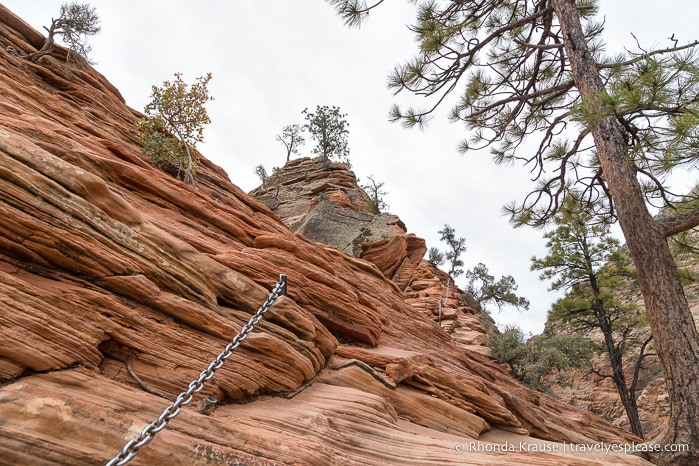
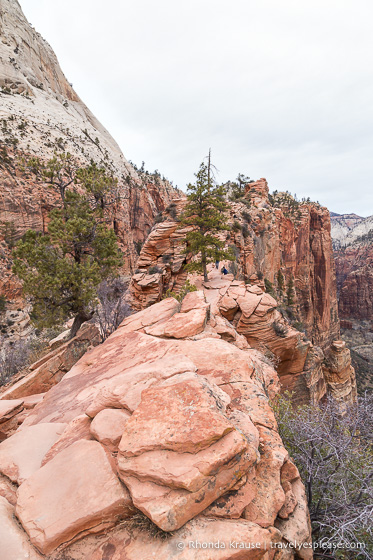
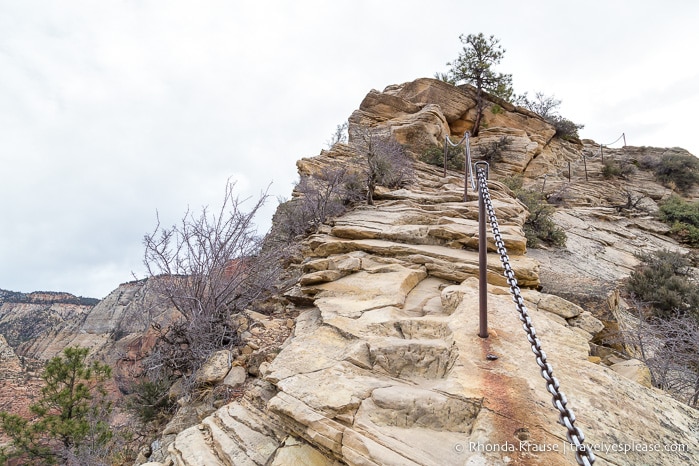
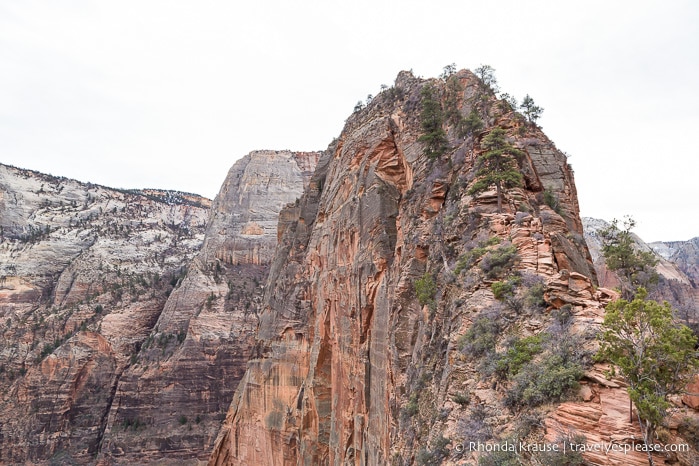
The last 0.8 km (0.5 mi) beyond Scout Lookout follows a precipitous ridge to Angels Landing, looming almost 1500 ft above Zion Canyon. This is the most challenging and thrilling section of trail, getting as narrow as 1 m (3 ft) with 305 m (1000 ft) drop-offs on either side. Chains have been installed to serve as handholds, but there are no guardrails.

Angels Landing Trail is the most popular hike in Zion National Park so starting early in the day and visiting in the off-season (like we did in December) can help avoid the crowds.
Angels Landing Hike- Our Experience and What to Expect When Hiking Angels Landing Trail
We hit the trail at 8:30 am, excited to discover if the hike to Angels Landing was really as scary as people on the internet (and t-shirts in the gift shops) made it out to be.
The first sign we saw warned that yes, the trail was indeed dangerous, with several people having fallen to their deaths on this route.
This didn’t scare us away but instead got our adrenaline flowing, as the risk factor is part of what draws people to this hike. I became anxious to get to Angels Landing before more people arrived, since I knew that sharing a narrow trail with a crowd could be an added stress and challenge.
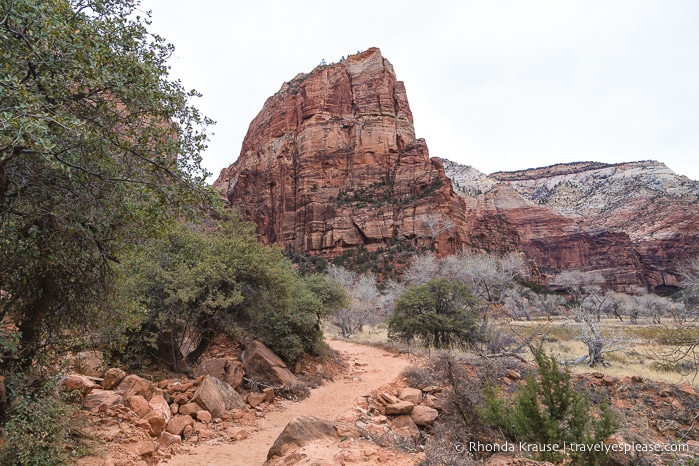
So we quickly began our hike down the West Rim Trail, following along the Virgin River towards Angels Landing.
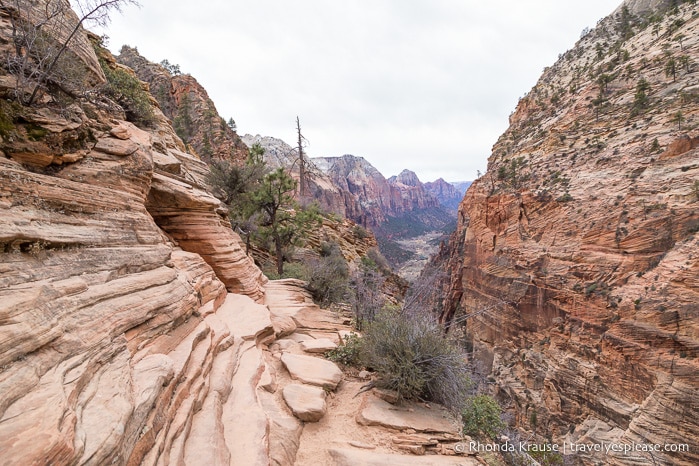
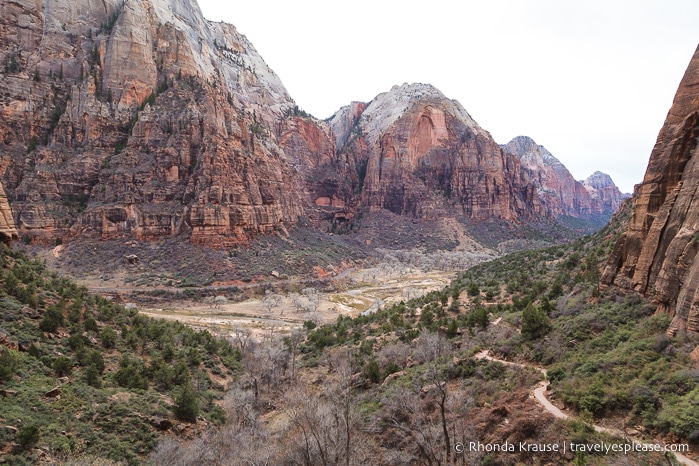
The trail started out flat then steadily climbed towards the first set of switchbacks. It was an initial test of our endurance, but I felt no shame in taking frequent short breaks to admire the view. I was captivated looking down at Zion Canyon and the trail weaving its way up along the edge.
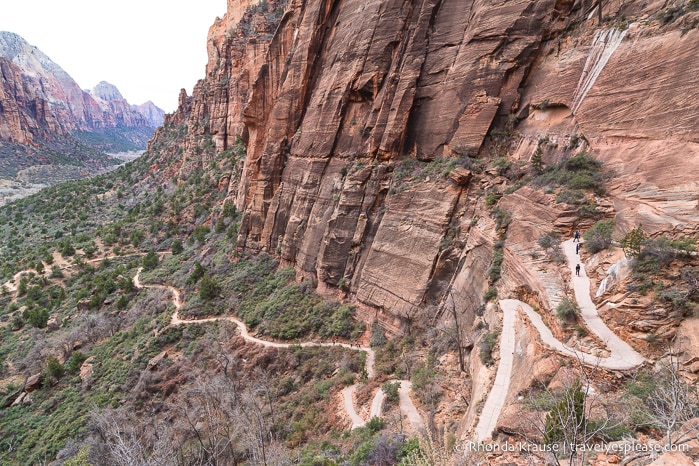
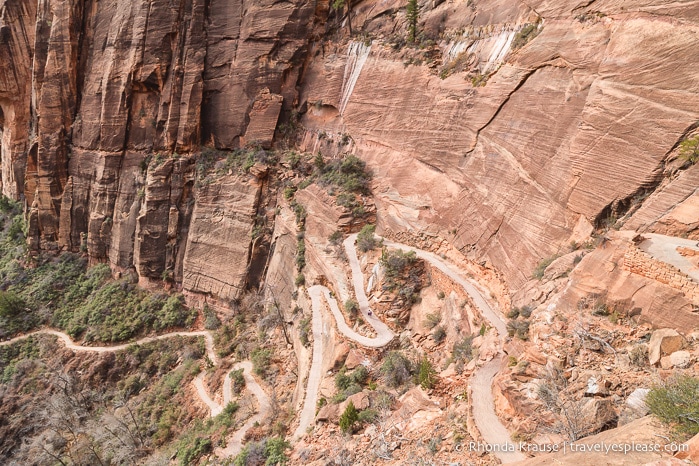
Knowing this was just the start of more incredible views to come, I eagerly continued up the switchbacks and into Refrigerator Canyon.
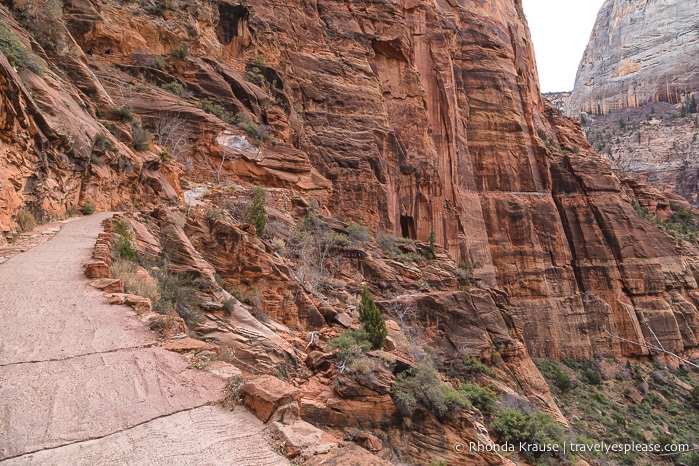
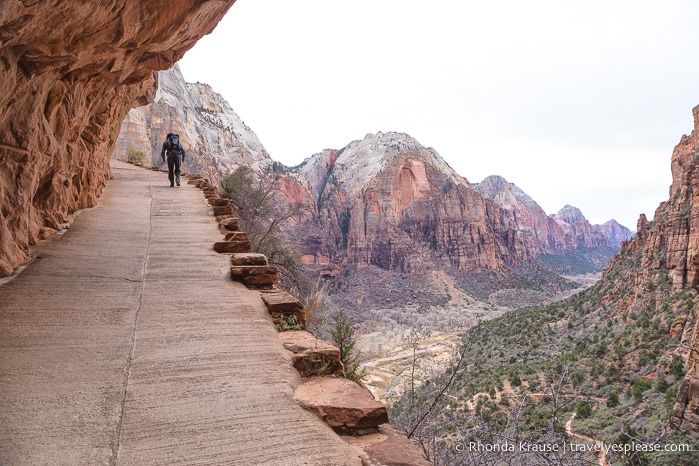
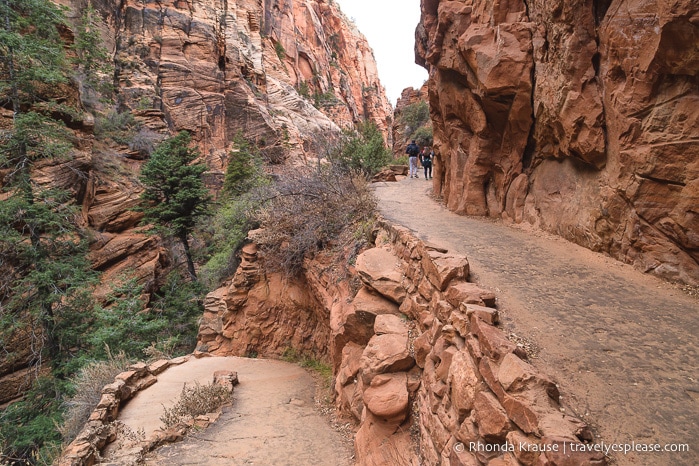
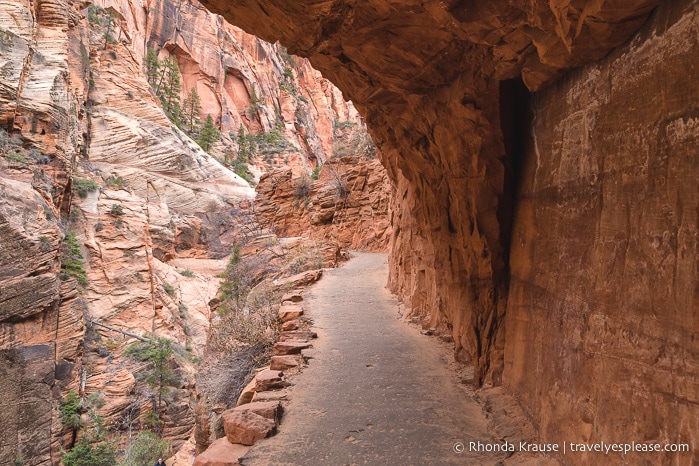
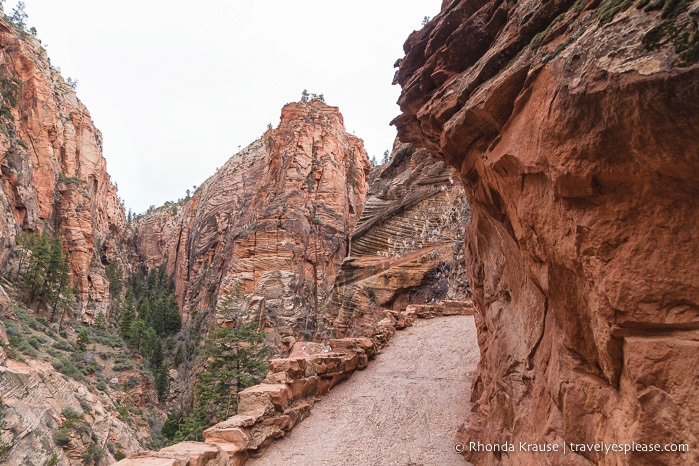
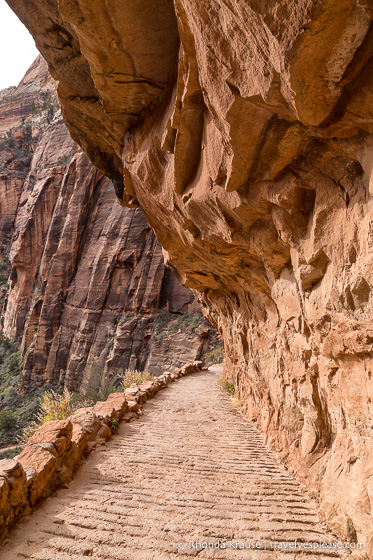
Had it been a sunny day, the overhanging rock in Refrigerator Canyon would have provided some welcomed relief from the heat, as it’s the only shady part of the hike.
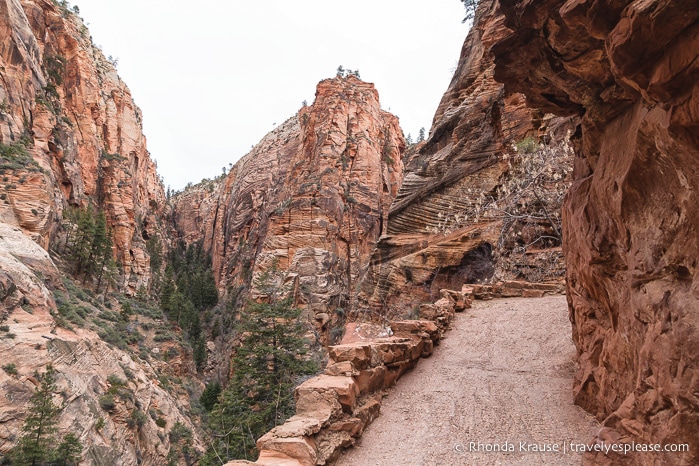
Next up we came to Walter’s Wiggles, a set of 21 switchbacks affectionately named after Walter Ruesch, Zion’s first custodian who helped engineer and build the Angels Landing Trail.
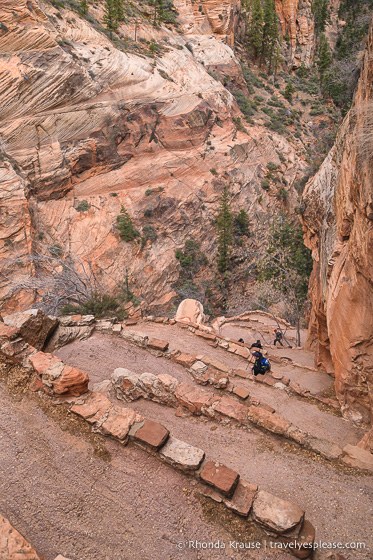
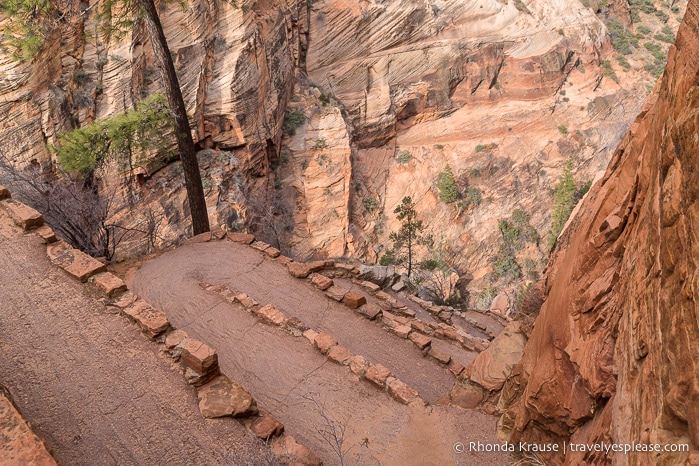
Don’t let the playful name fool you, these switchbacks will make your heart pump and thighs burn!
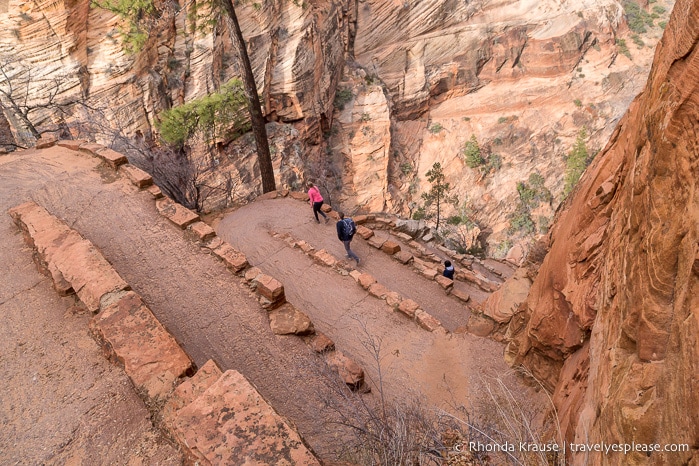
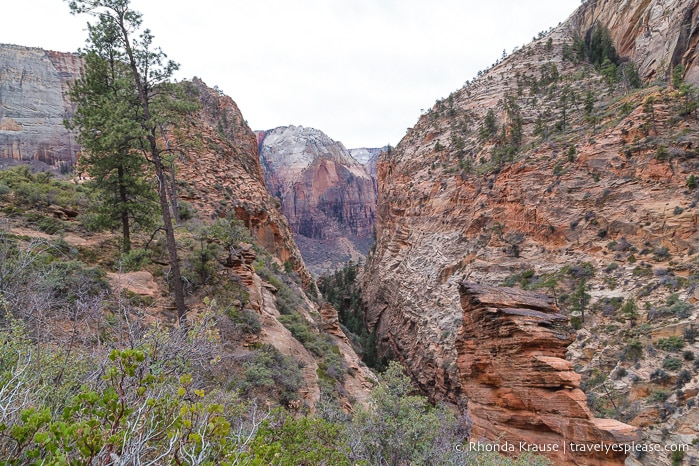
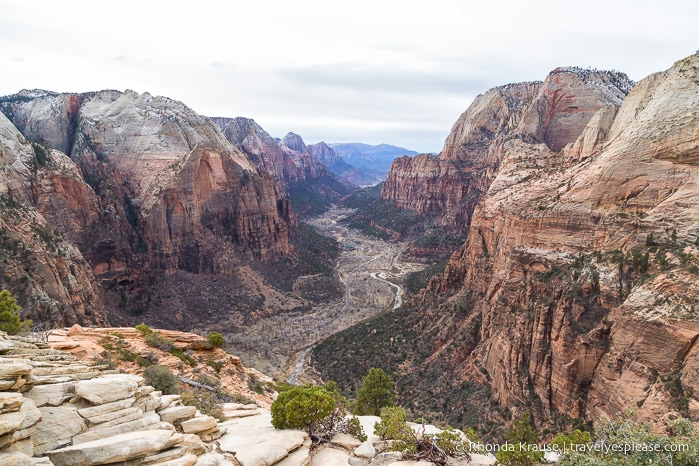
After conquering Walter’s Wiggles, we arrived at Scout Lookout and got our first high elevation view of Zion Canyon and the notorious ridge trail to Angels Landing.
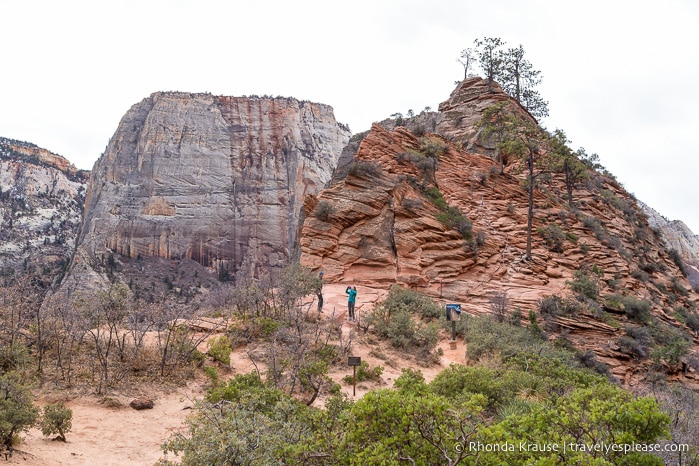
Scout Lookout is the turning back point for some people, but we were motivated to continue onwards and upwards along the spine of Angels Landing.
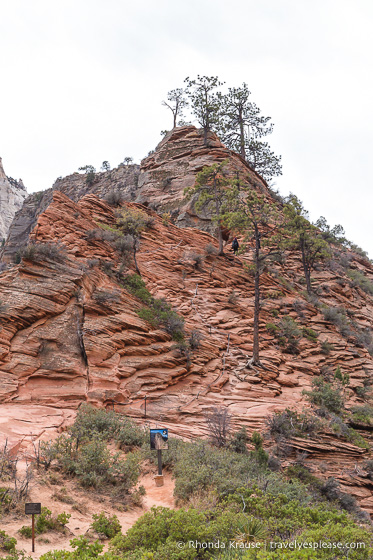
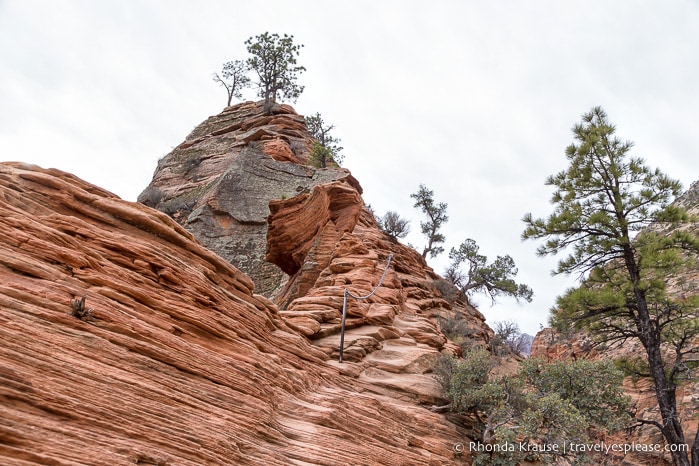
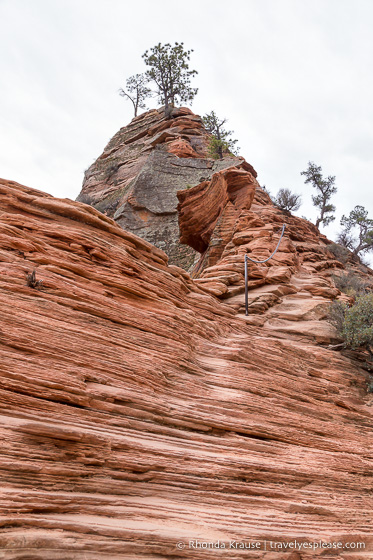
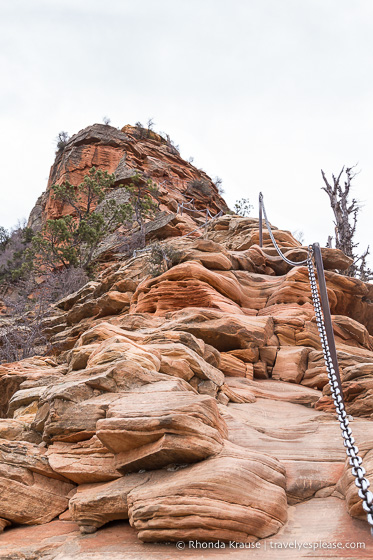
Now this is where the real fun began. The final climb to Angels Landing involved hiking on natural sandstone steps, using a chain for balance as well as route guidance.
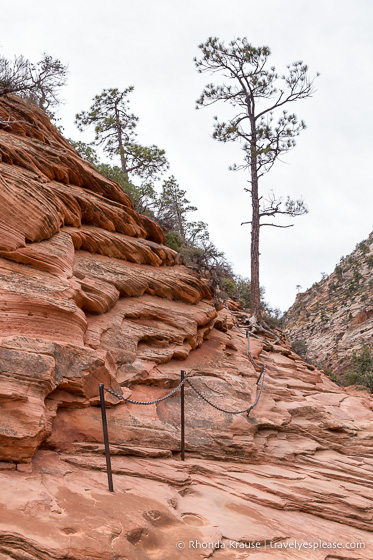
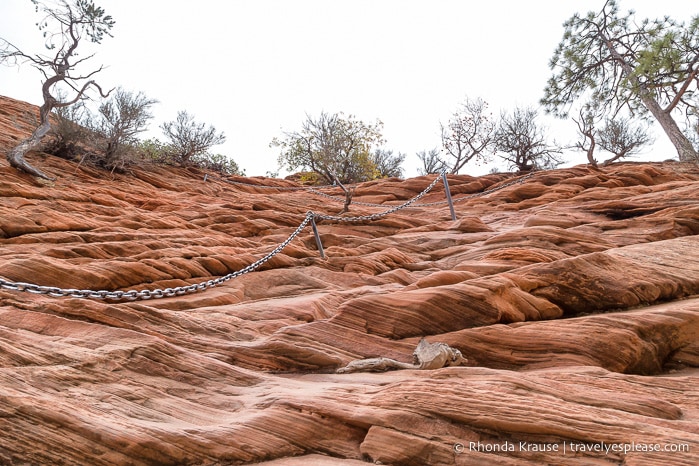
The first section was wider than the trail that followed, so it was a good spot to get used to scrambling and using the chains before we came to the dramatic drop-offs.
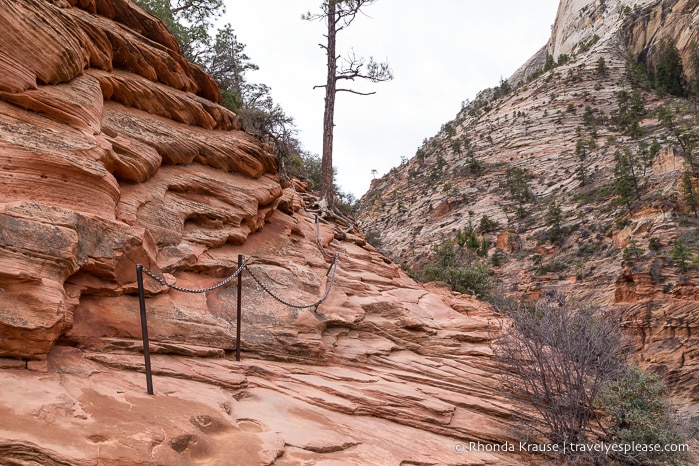
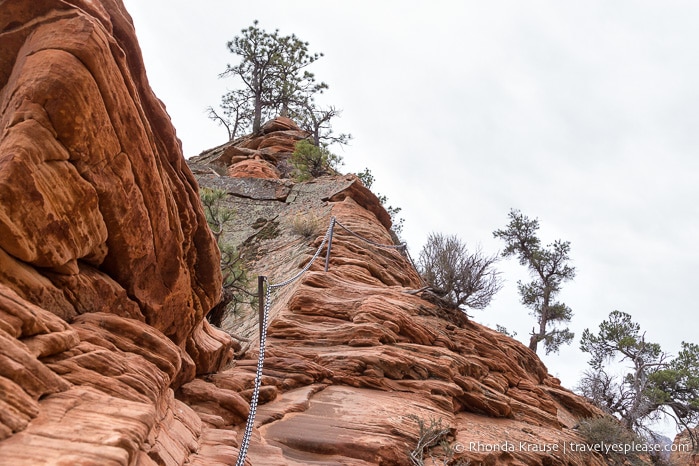
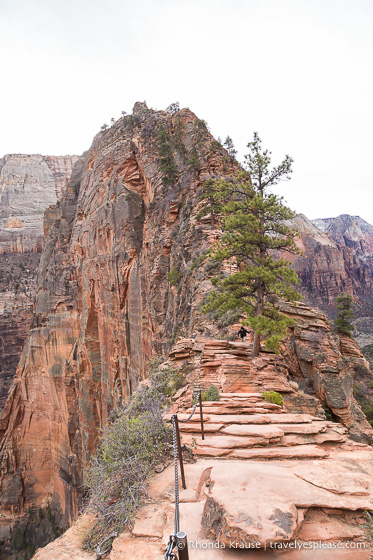
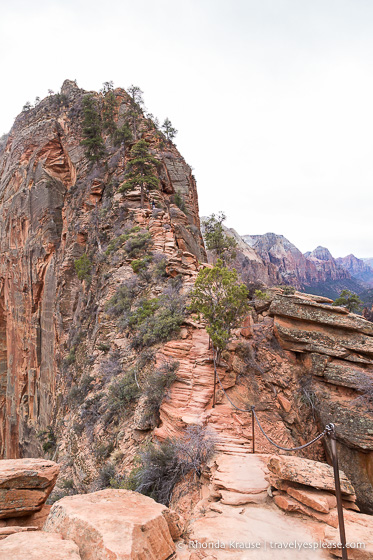
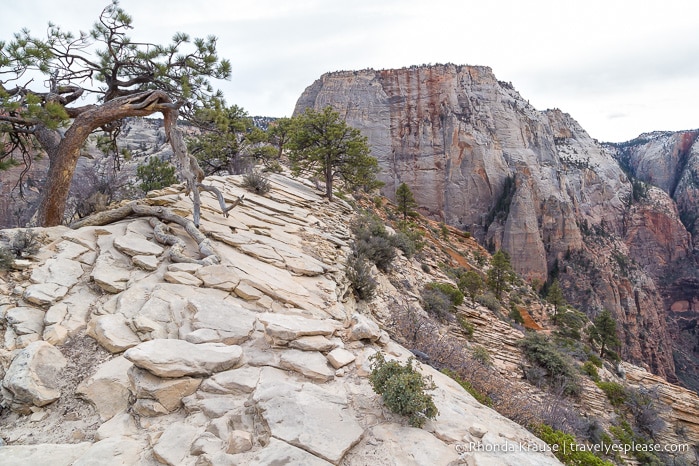
By the time we got to the middle part of the spine, the trail narrowed considerably. It was only a few feet wide, with steep drop-offs on each side, so there was no option but to travel single file.
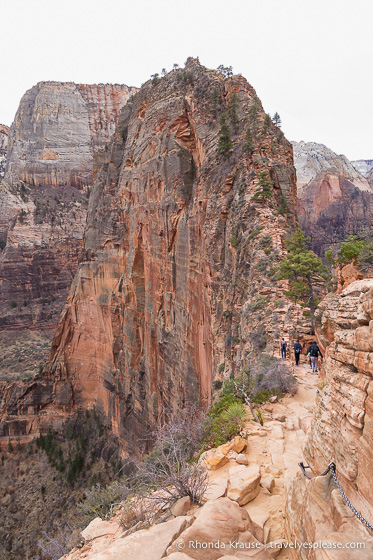
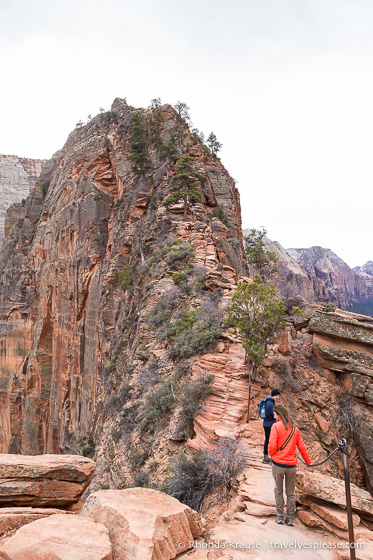
As I scrambled up and down the sandstone rock, I made sure to hang onto the chain and not let the inherent danger of the trail bring doubt to my mind. I stayed confident, calmly repeating in my head, I can do this, as I focused on nothing else but the trail in front of me.
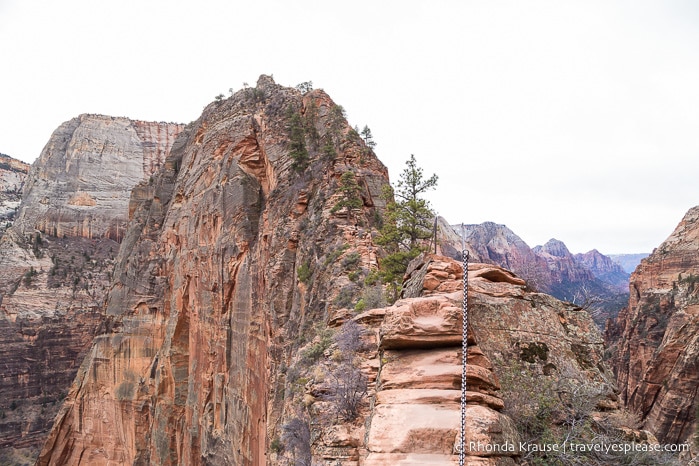
I tend to get butterflies when doing steep climbs, but my matter-of-fact approach, focus, and not looking up, helped keep them largely at bay.
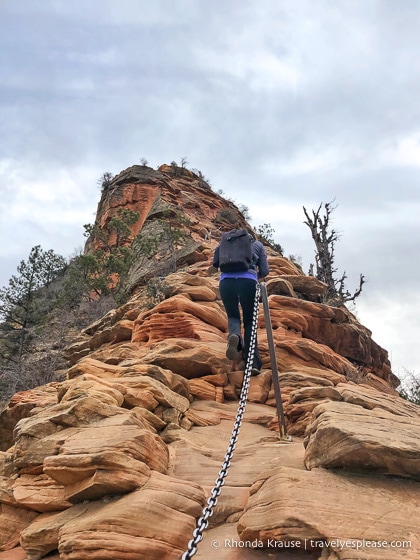

Still, the thrill of this hike was undeniable and arriving at Angels Landing was a proud and celebratory moment (and a big relief too!)
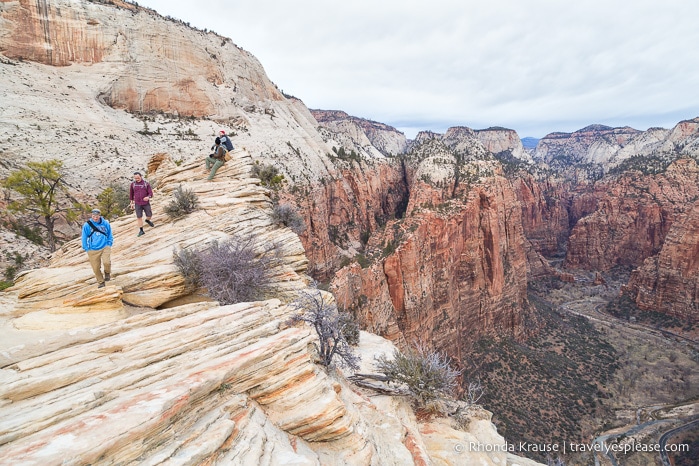
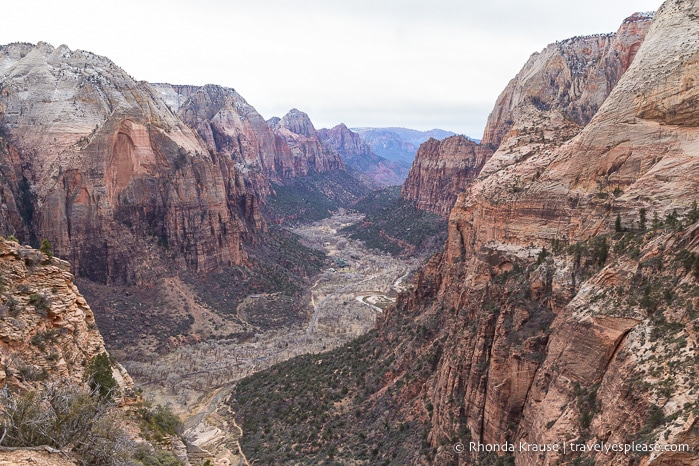
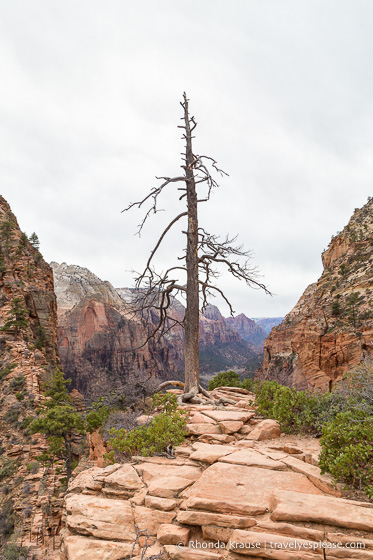
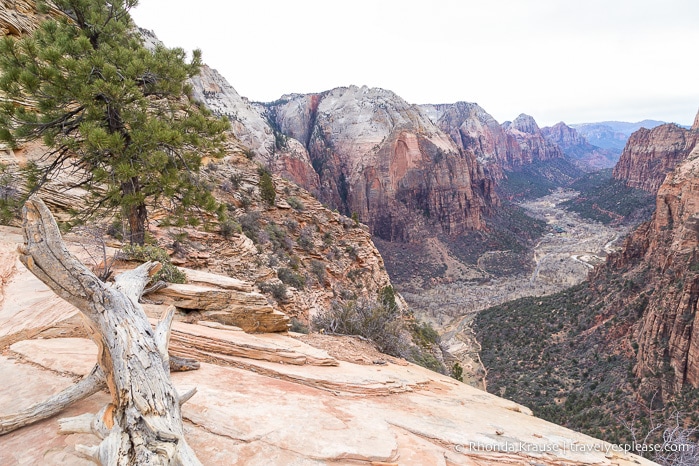
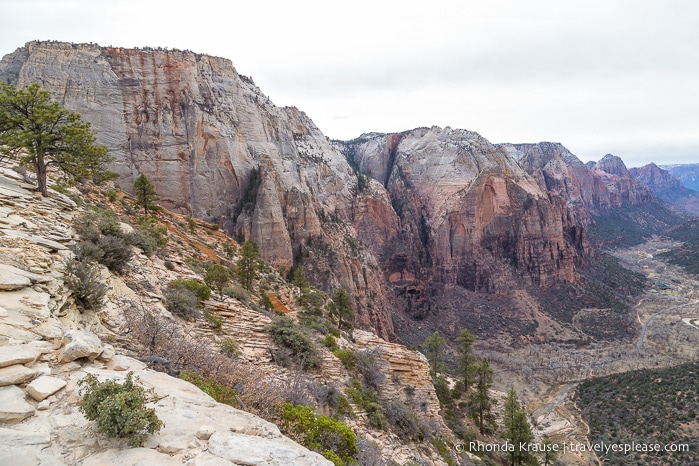
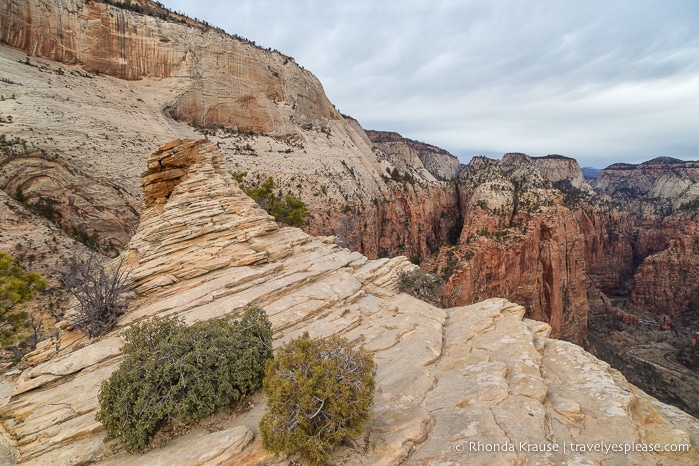
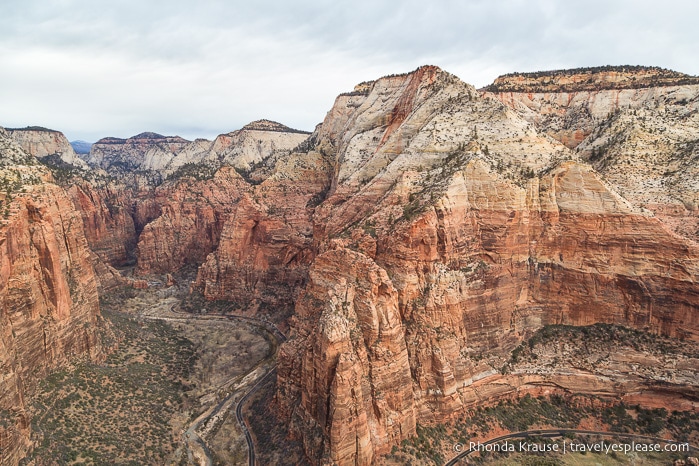
As with all challenging hikes, it’s the view from the top that is the greatest reward. From Angels Landing we could admire panoramic views of the south and north ends of Zion Canyon, getting to see Observation Point, The Organ, and Weeping Rock. I thought it was best vista we saw during our 3 days in Zion National Park.
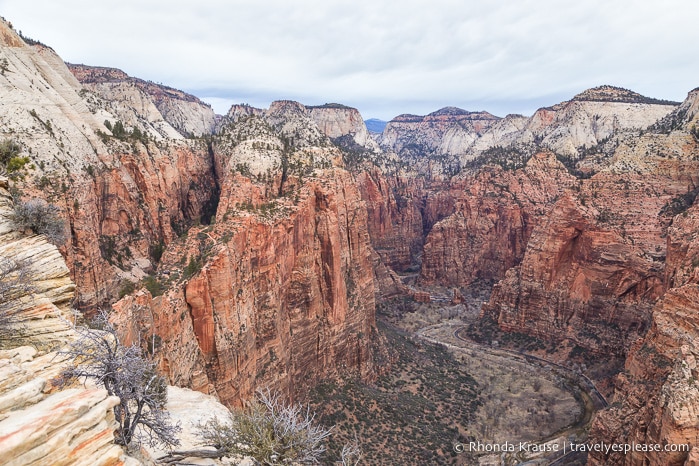
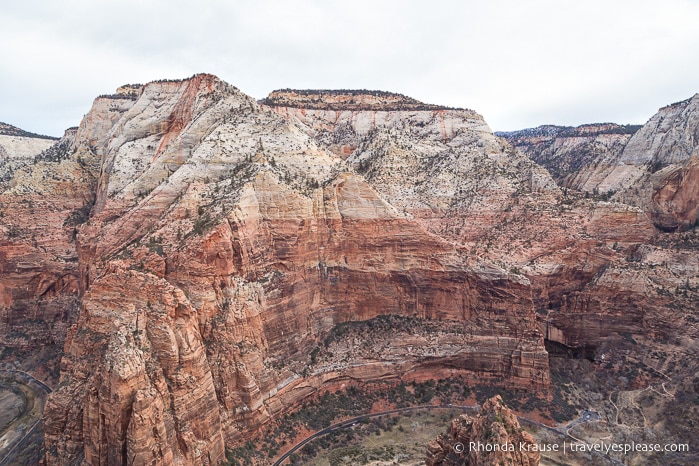
Even though there was beauty all around, my favourite view from Angels Landing was looking back at the ridge we just hiked. Getting a full view of the backbone and how steep the drop-offs were gave me goose bumps all over again!
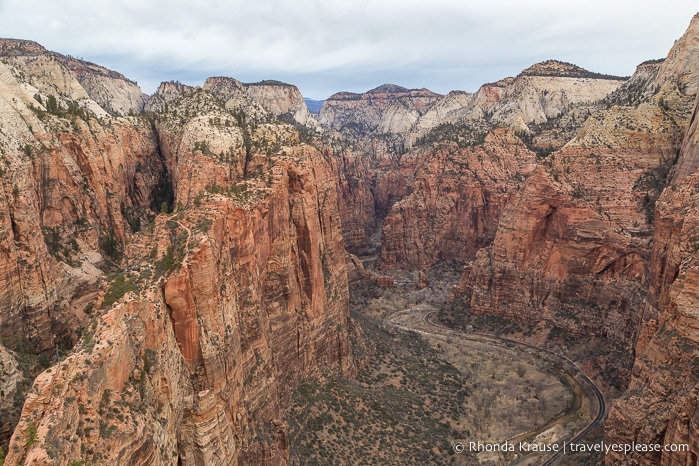
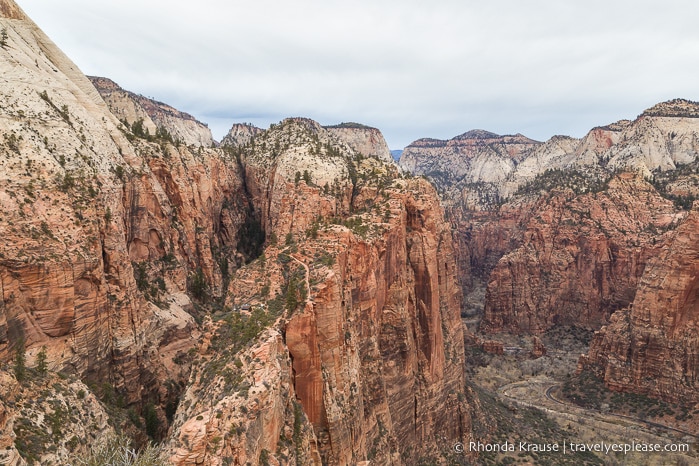
The hike down from Angels Landing was just as rousing as the hike up, except now there were far more people on the trail. Luckily, the majority of hikers were safety conscious, patiently giving the right of way to those of us coming down by stepping aside where it was wide enough to do so, allowing us to pass.
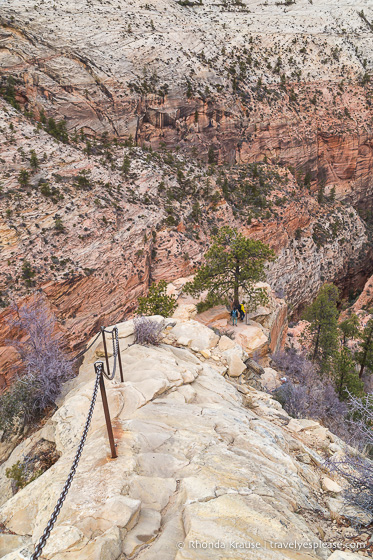
Seeing how many people were on the trail during our descent made me glad we started our hike early. If people were in a rush and not looking out for one another, it would have been a stressful experience.
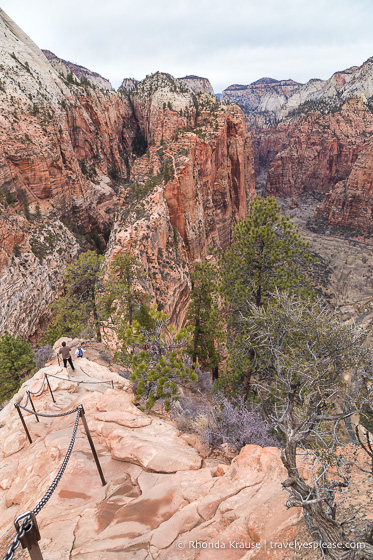
Back at Scout Lookout, we could relax because the most dangerous part of the hike was over. It was literally and figuratively all downhill from here, as we left the thrill and adventure of Angels Landing behind.
Final Thoughts About the Angels Landing Hike
During our walk back to the trailhead, all Mike and I could talk about was how riveting this hike was. Angels Landing is truly a sensational trail in Zion National Park and one of our favourite hikes in the United States. We were so glad we make this hike a priority in our American southwest road trip itinerary because it was a highlight of the trip.
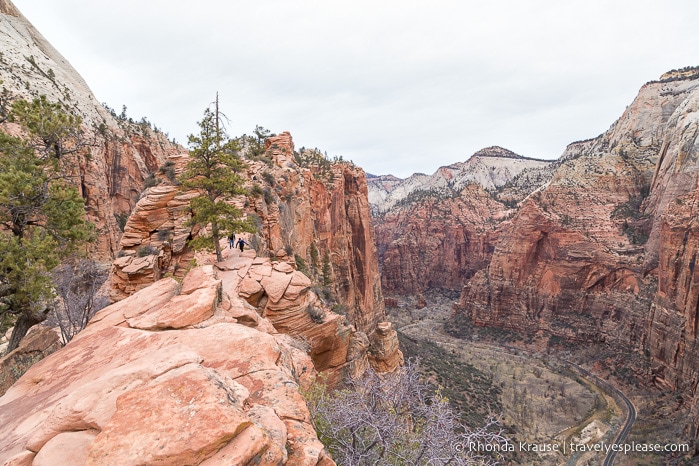
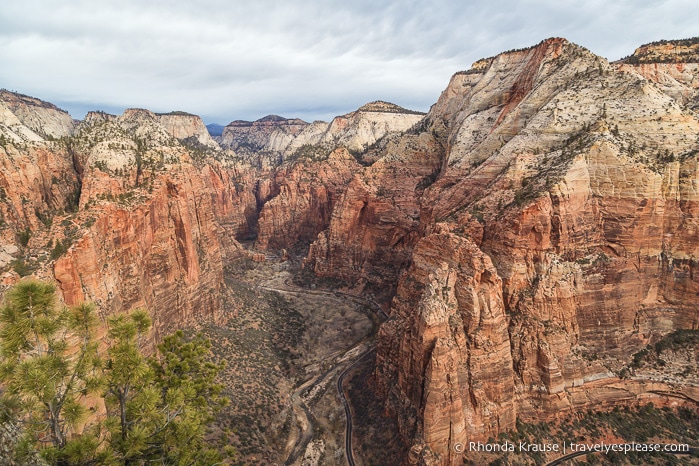
As experienced day hikers, we came to the conclusion that Angels Landing was not as difficult or scary as people made it out to be. We agreed that hiking Angels Landing was more of a mental challenge than physical, but that the risk level had not been exaggerated.
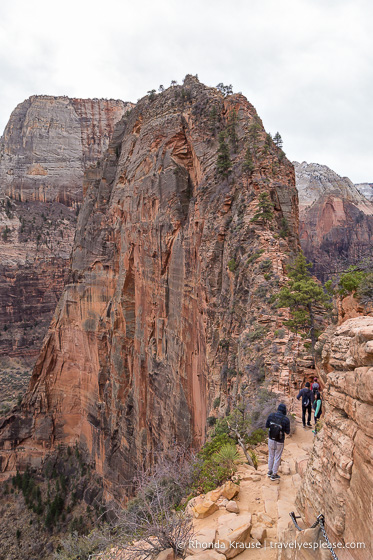
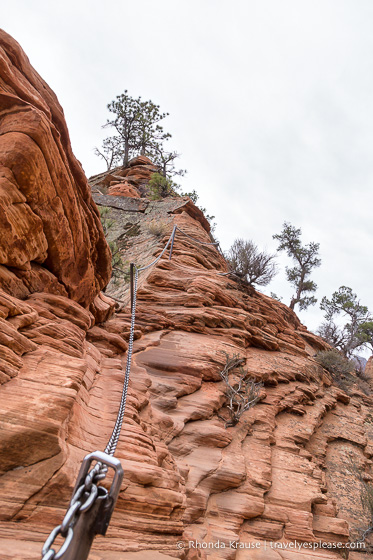
It actually wasn’t until the next day, when we hiked to Observation Point and got a complete view of Angels Landing, that it sunk in just how steep and precarious the trail is. It’s kind of nuts that someone built a hiking trail up there!
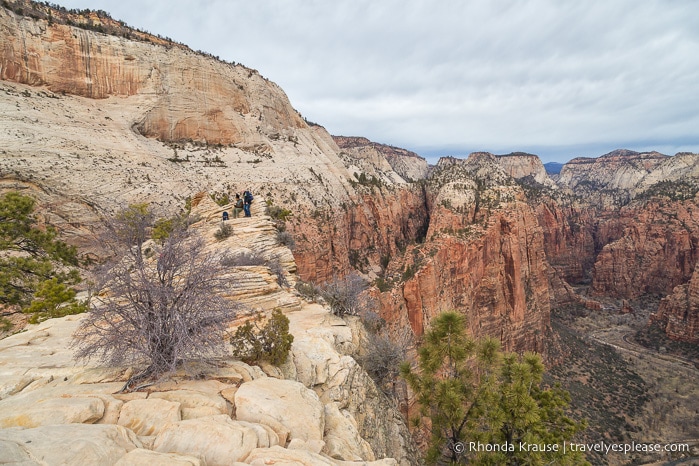
Angels Landing Trail is definitely not for everyone, but if you have a head for heights, an adventurous spirit, and confidence in your hiking ability, it’s a deeply memorable and rewarding experience.
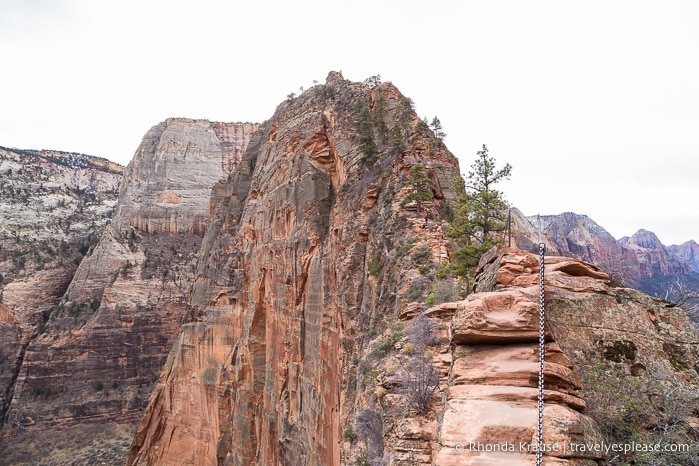
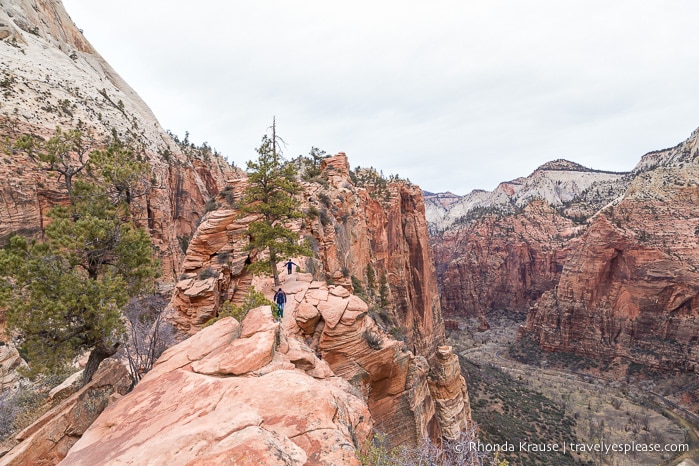
Pictures of Angels Landing Trail
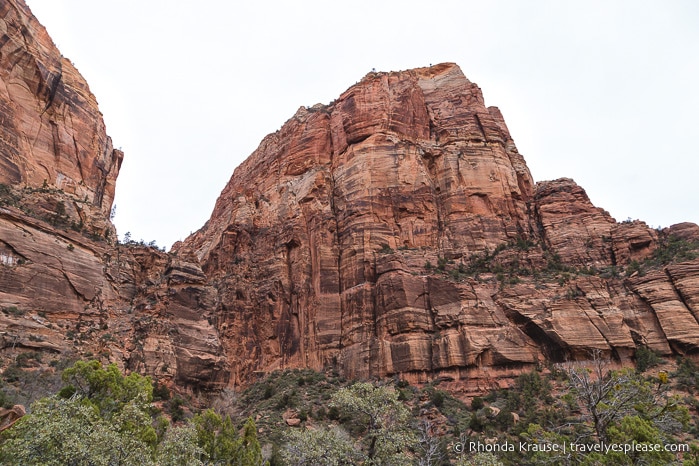
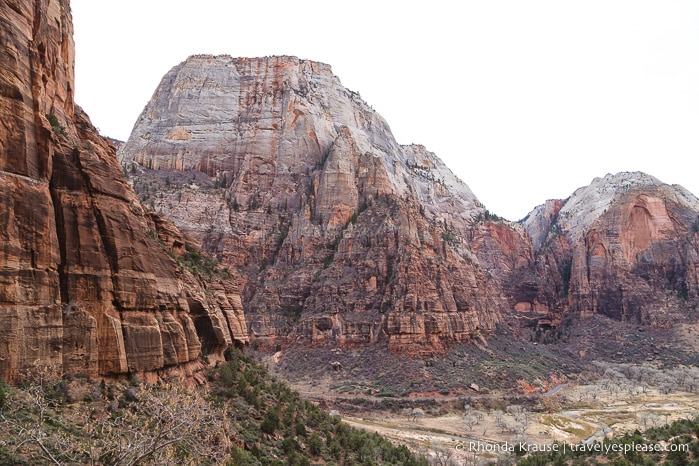
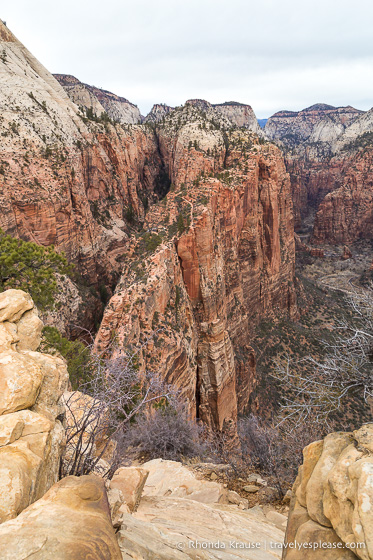
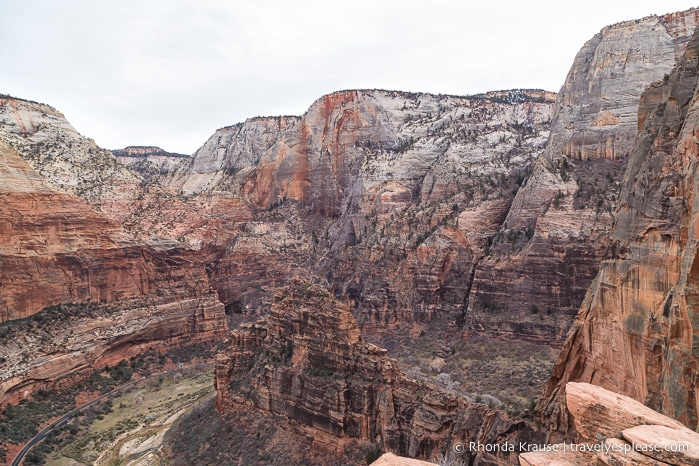
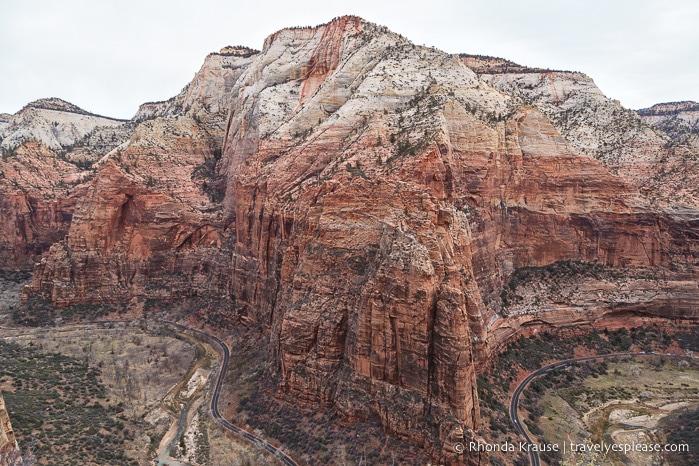
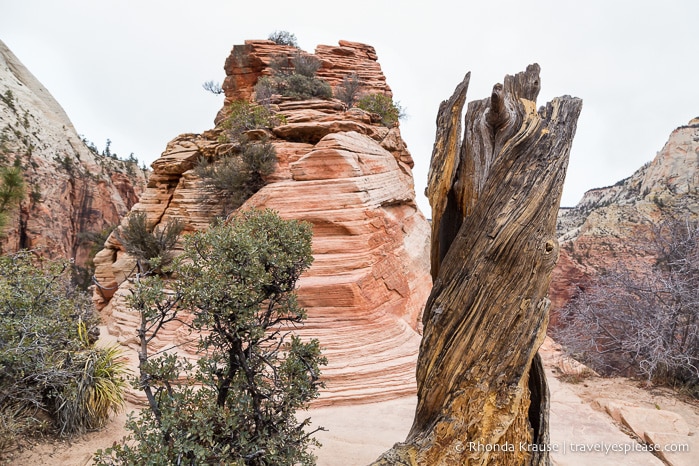
I took a lot of photos to help give you a better idea of what to expect on the Angels Landing hike. I hope you enjoy the stunning scenery along Angels Landing Trail!

Angels Landing Hike Guide- Tips for Hiking Angels Landing
Trail Details: Knowing some facts about the Angels Landing hike can help you prepare for your adventure.
- Type of Trail- Out and back
- Distance- 8.7 kilometers/5.4 miles
- Elevation Gain– 453 meters/1,488 feet
- Difficulty- Strenuous
- Length of Time- 3-5 hours but the average is 4 hours.
- Trailhead- Across from The Grotto (stop #6 on the Zion shuttle)
Permits: Starting April 1, 2022 a permit will be required to hike Angels Landing. This is a pilot program that will try to address congestion on the trail. Permits will be awarded through two different lottery systems- a seasonal lottery (apply a few months in advance of your trip) and a day before lottery (apply the day before you intend to hike). For more information about Angels Landing permits consult the National Park Service website.
Best Time to Hike Angels Landing: The trail can be hiked year round, but the best time is spring and fall when temperatures are cooler and fewer people are visiting the park. Winter can be good too, but only if there’s no snow and ice on the trail.
- We recommend starting first thing in the morning to avoid the crowds and midday heat. We started at 8:30 am (a few days before Christmas) and there were already some people returning from Angels Landing. I suggest starting no later than 8:30 am, but would aim for earlier if hiking in the summer.
Getting to the Angels Landing Trailhead: Take the free Zion shuttle bus to The Grotto (stop #6). If the bus is not running, you can park at the Grotto picnic area, but be aware that the lot is small and fills up fast.
Safety: Do not underestimate the risk of hiking Angels Landing. Being prepared (physically and mentally) and taking precautions can help keep everyone safe on the trail.
- Do not hike Angels Landing during thunderstorms, high winds, icy/snowy conditions, and when it’s dark.
- Do not attempt this hike if you are afraid of heights or close edges. This is a busy, technical trail and not a safe place to confront fears or phobias.
- Know your limits and hike only as far as comfortable. A safe turning back point is Scout Lookout.
- Once you are on the spine of Angels Landing, be alert and give the right of way to hikers coming down. It’s best to wait at a wider area for them to pass.
- Stay focused and do not stop to take a selfie on the spine. This is the most dangerous part of the trail and one misstep can send you over the edge.
Gear/What to Bring: You will need proper hiking shoes/boots with good grips and supportive ankles.
- Bring plenty of water and sun protection, especially if hiking midday or in the warmer months. There’s not much shade on the trail.
- We hiked in the winter and needed gloves for the last section because it was cold up there. I recommend gloves with some grips on the palms to help you better grasp the chain.
- Bring a snack to enjoy while looking at the gorgeous view from Angels Landing.
Information was updated January 2025, but can change without notice. Please confirm directly with service providers.
Accommodations in Zion National Park
For your convenience, here is a list of hotels in Springdale, the closest town to Zion National Park. Please consider booking your Zion accommodations through the included link. It costs nothing extra and helps support this website. Thank you!
More Utah Hikes and Destinations
- Hiking Watchman Trail in Zion National Park
- Hiking Fairyland Loop Trail- Bryce Canyon National Park
- Hiking Queen’s Garden Navajo Loop Trail- Bryce Canyon National Park
- Grafton Ghost Town
